Jenkins日常使用示例
上一篇文章中已完成了用前准备,可以用于正常的日常运用了。所以这一章将围绕日常使用来编写。
常用功能介绍
在写示例前,我们需要把流水线里涉及到的一些功能提前了解下,在后面使用时才能比较好的用上这些使得的功能。
凭证管理
支持多种类型的凭证,方便在流水线中调用。日常主要使用的是 ssh 私钥和 账号密码。可使用 流水线语法 - withCredentials: Bind credentials to variables 来生成。
注意:
ssh 的 rsa 在高版本默认关闭支持,推荐使用
ssh-keygen -m PEM -t ed25519 -C "your.email@example.com"命令生成公私钥证书。
节点管理
Jenkins 集群化才会有这个概念,如果只是10几人的技术团队,单个实例就够用了。
流水线语法生成
流水线类型的任务,左侧菜单里都会有个 流水线语法。下面是常用的生成:

片段生成器:
- checkout: Check out from version control:远程仓库代码拉取
- sh: Shell Script:操作容器中的命令
- withCredentials: Bind credentials to variables:使用凭证
- writeFile: Write file to workspace:写文件
Declarative Directive Generator:
- agent: Agent:运行环境
- stage: Stage:步骤组
- parallel: 步骤并行
- stages: Stages:步骤内容
- when: When Condition:运行判断,如果未通过,就不执行步骤
变量通过 environment 定义,在输出中通过 ${变量名} 使用
字符串型变量
"其他文字,${变量名} 其他文字"才会被解析
全局环境变量
- 使用方法:
"${env.变量名}"
Note:
单引号不会被解析
流水线调试方法
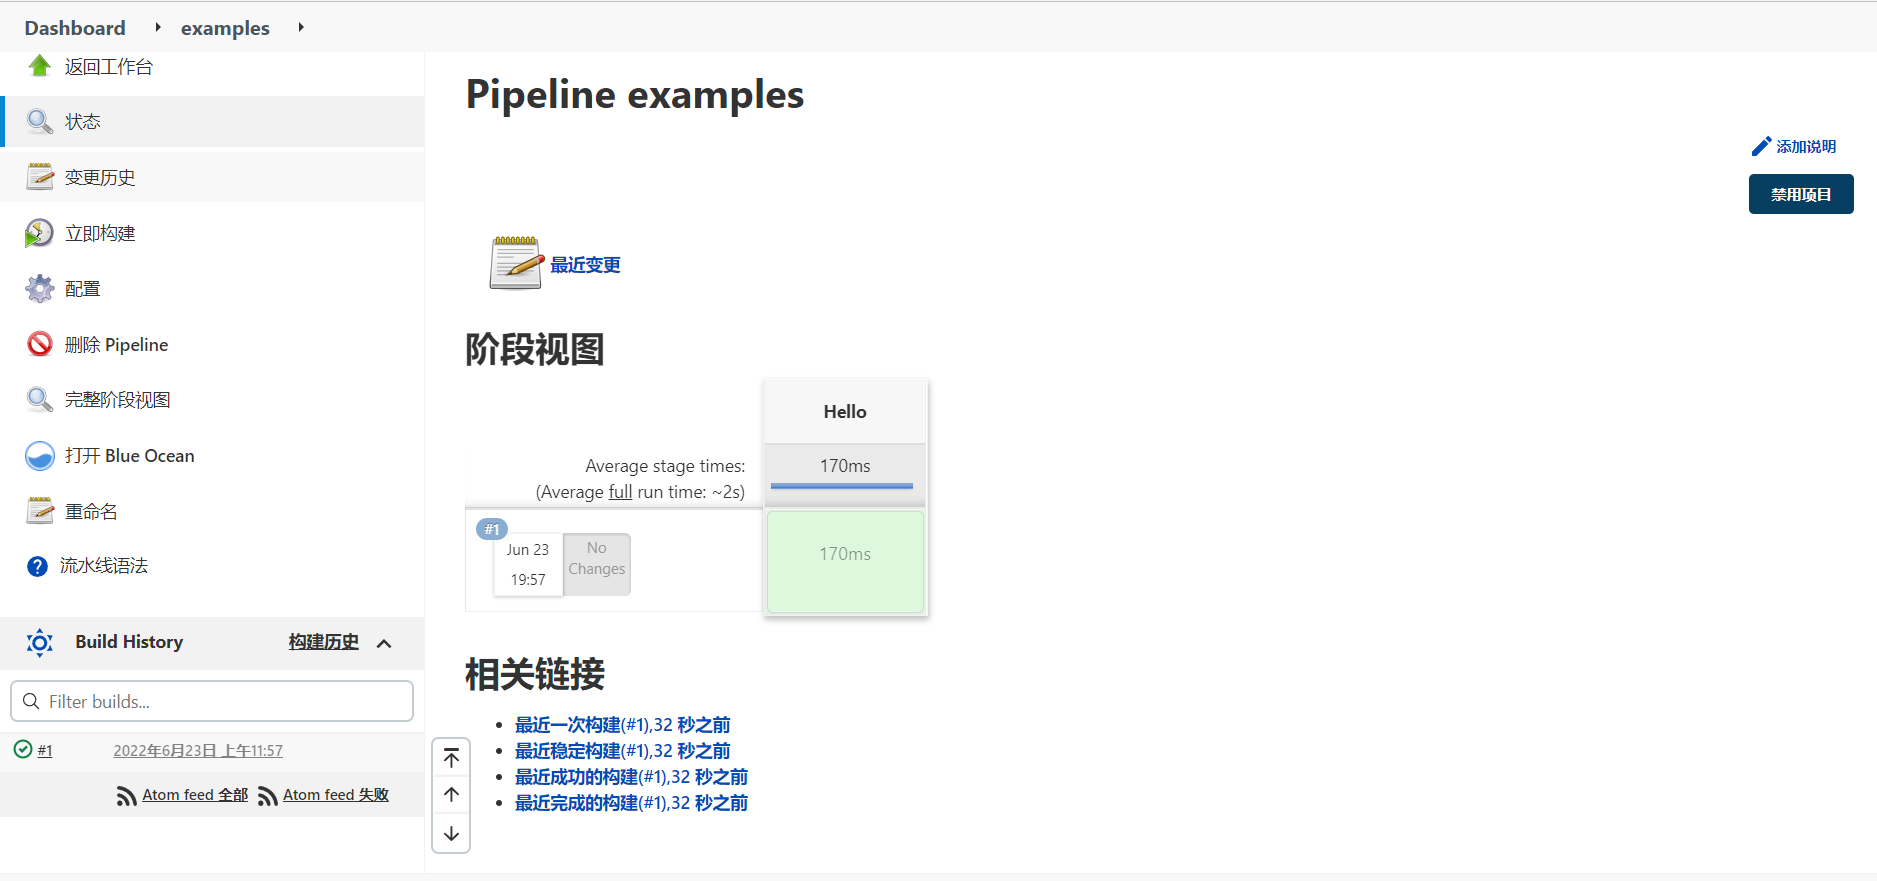
在任务中,点击构建记录标题进入构建中,标题是类似 #1 的标识
- Console Output:查看构建过程返回内容
- Paramameters: 构建过程使用的参数(如果你通过变量来管理项目才有)

调试
- 从指定阶段重新运行
- 回放:可修改流水线的定义,对使用 Jenkinsfile 文件构建的项目更有用
多分支构建
步骤执行前可以使用 when 判断分支,也可以通过 env.BRANCH_NAME 来读取当前分支。
触发构建流程
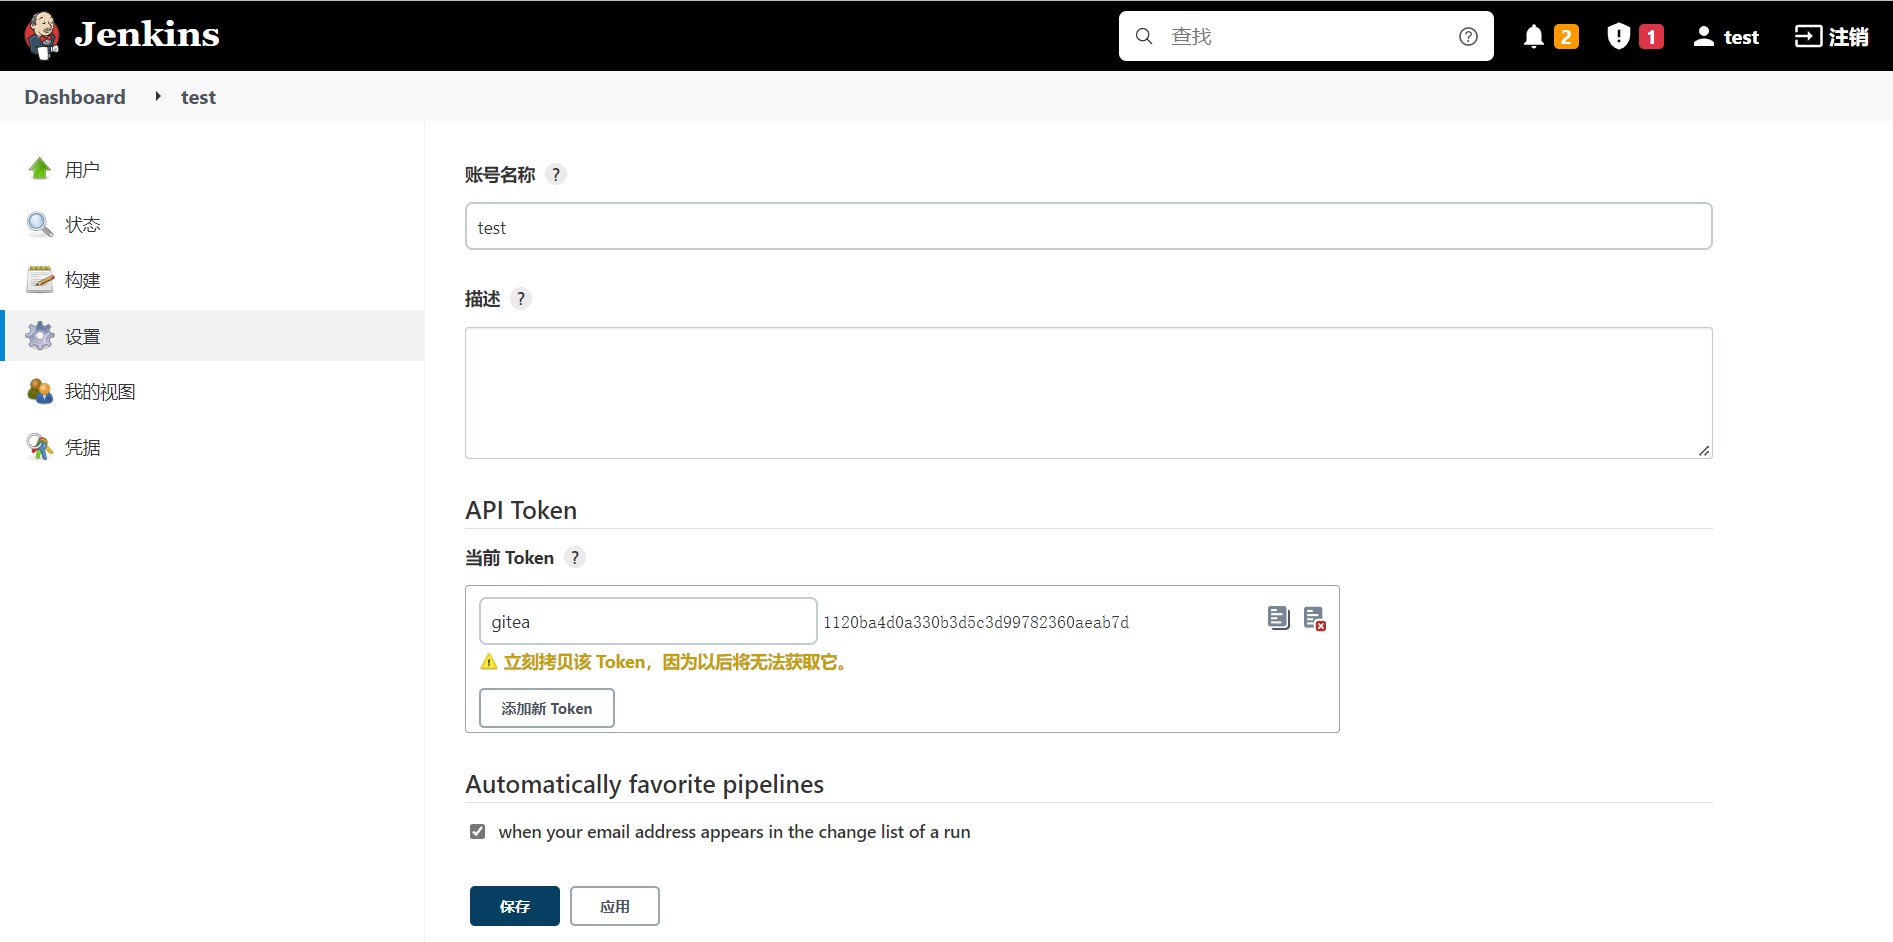
设置 用户配置 - 设置 - API Token 后可得到以下信息
- 账户:admin
- 证书名:gitea
- 签名(后面不可查看,需要自行保存):1120ba4d0a330b3d5c3d99782360aeab7d
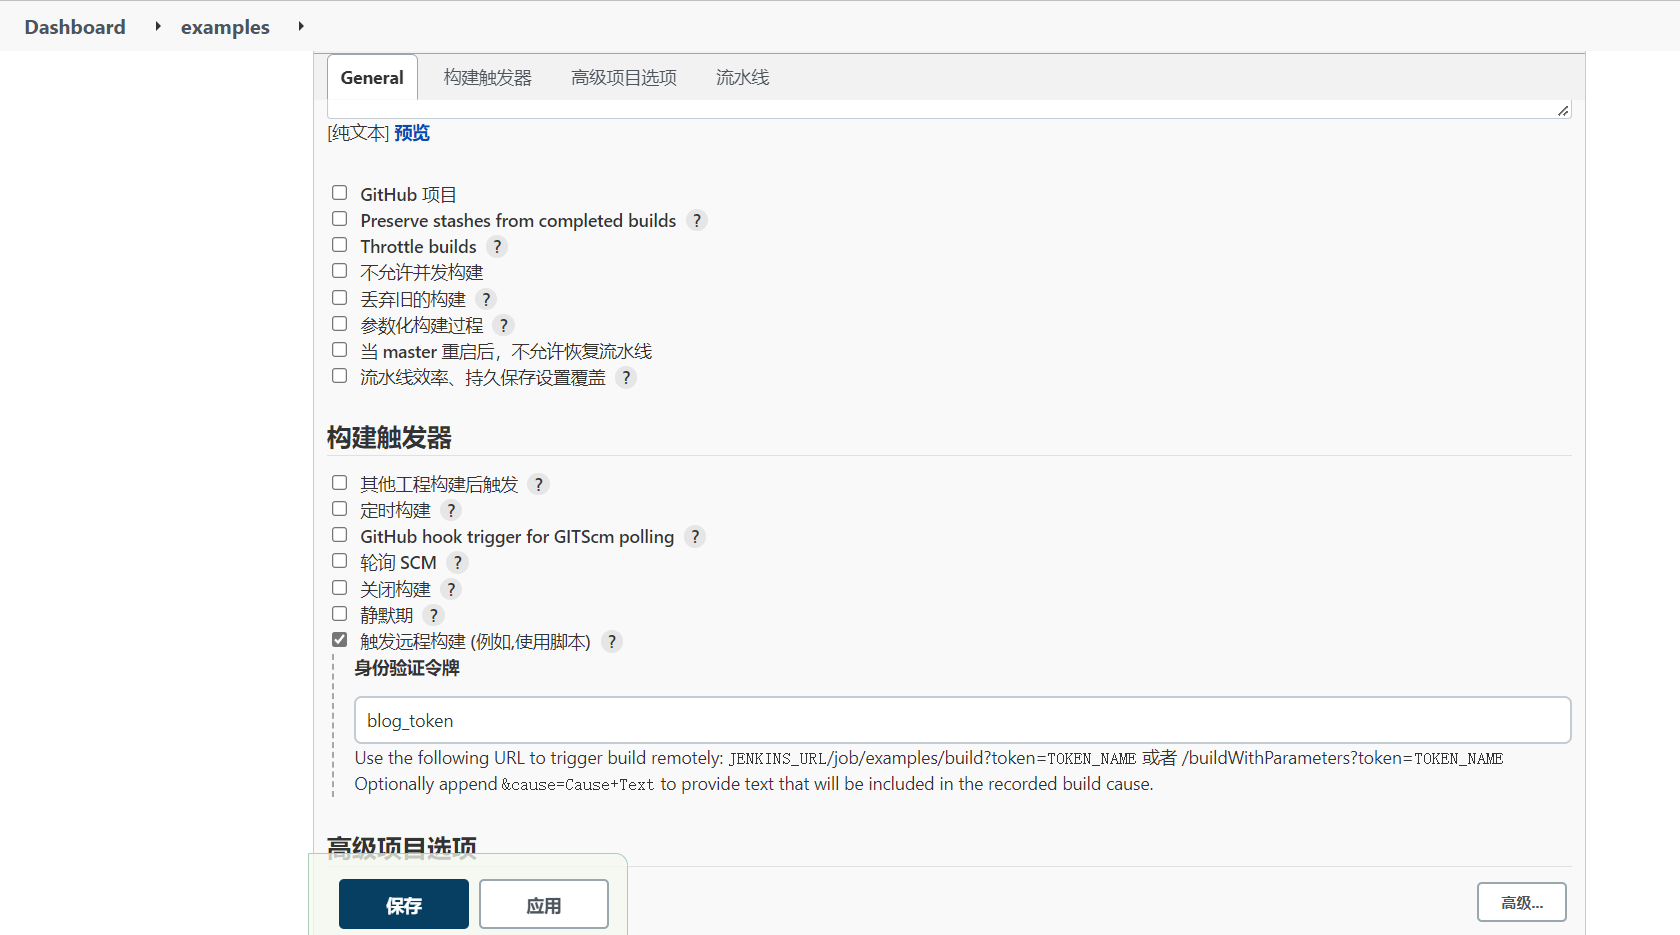
任务 - 构建触发器 - 触发远程构建 (例如,使用脚本) - 设置身份验证令牌
- 项目名:examples
- 身份验证令牌:blog_token
得到脚本触发链接: http://admin:1120ba4d0a330b3d5c3d99782360aeab7d@localhost:8080/jobs/examples/build?token=blog_token
通过请求当前链接即可让项目进行构建。通常可以使用 git 仓库钩子实现。
流水线写法技巧
- 流水线复用
- 新建任务-复制
- 流水线参数
- 常见优化方法
- 缓存目录
- 容器环境
docker 可通过 args 设置缓存目录、而 reuseNode=true 代表流水线的顶层指定的节点上运行该容器, 在同样的工作区, 而不是在一个全新的节点上。
post 构建过程完成后触发内容
流水线中的 option 使用
用来定义构建的,有以下重要参数
- timeout 超时: options { timeout(time: 1, unit: ‘HOURS’) }
- retry 重试: options { retry(3) }
案例
vue.js 单页应用
单页应用项目需要进行编译安装。
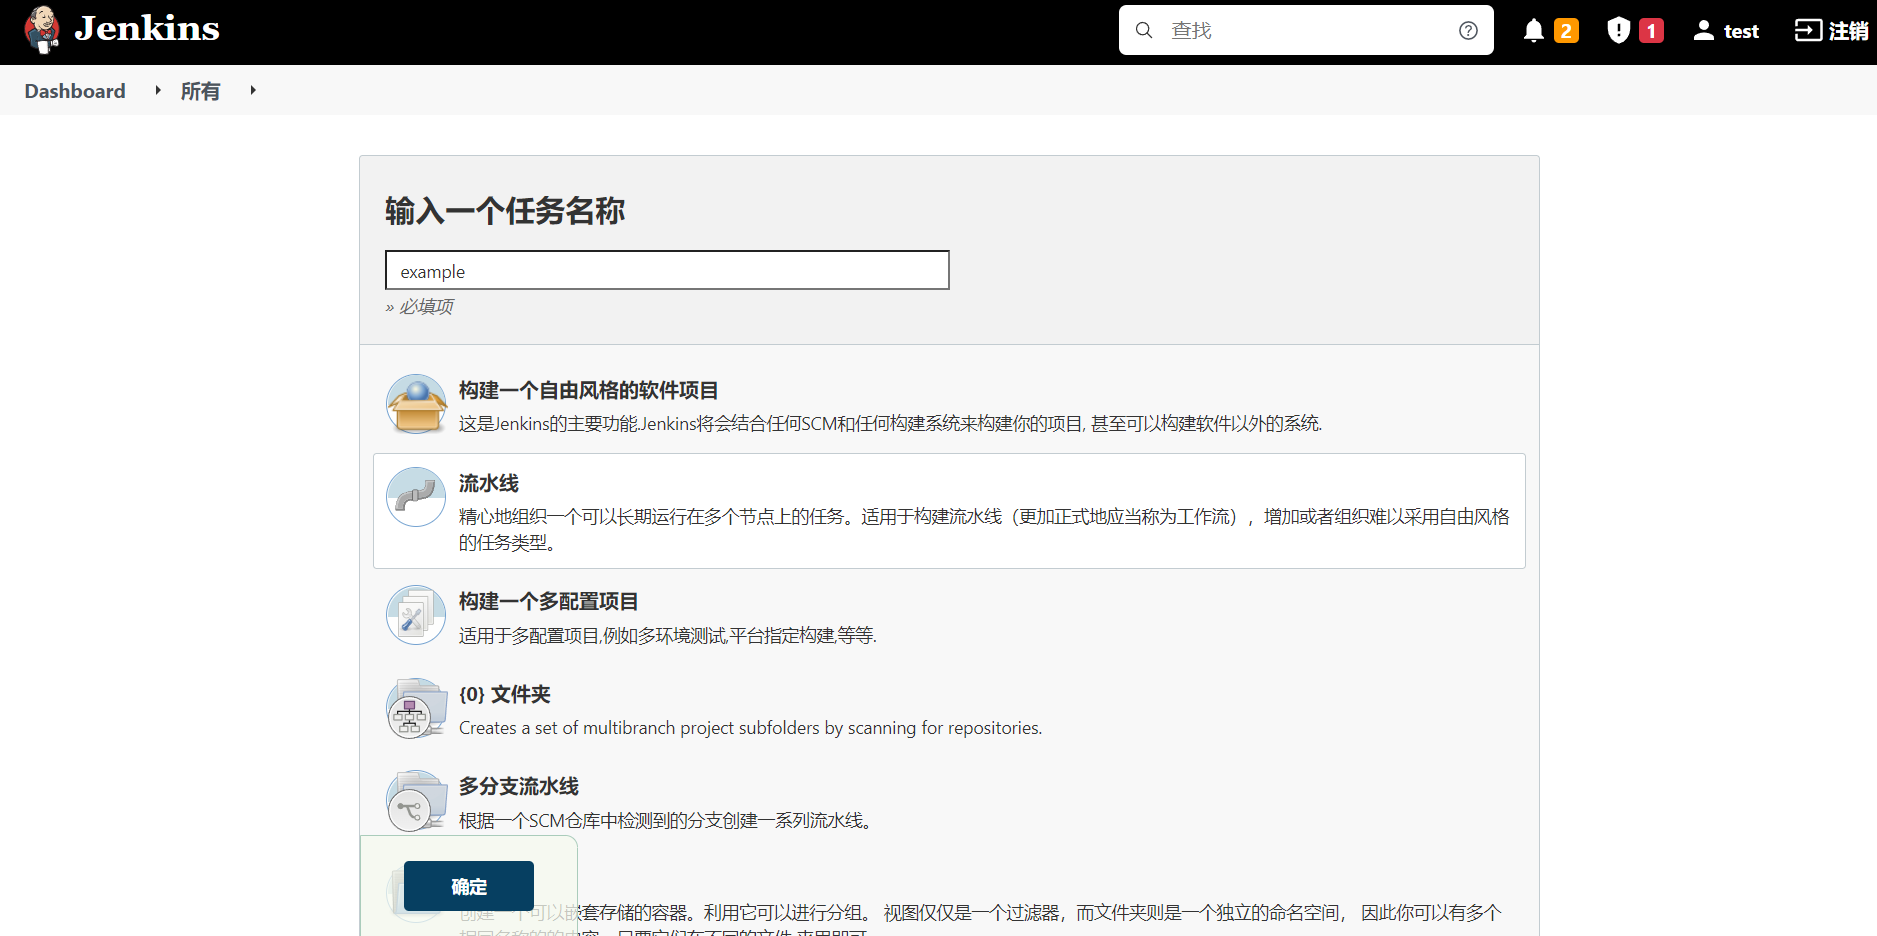
- 创建任务:设置任务名,选择流水线
- 先定义流水线中会用到的变量,如下:
- GIT_URL:字符串,远程SSH仓库地址
- GIT_CRED:凭证,SSH拉取私钥证书
- SERVE_HOST:字符串,服务器名称
- SERVE_CRED:凭证,服务器登录SSH私钥证书
- SERVE_INTO:字符串,编译覆盖路径

- 写入流水线逻辑
1 | pipeline { |
注意:
流水线代码中使用变量,需要使用双引号包裹,否则不会转义。而使用任务里指定了变量名的则可以直接使用。
发布镜像
Docker 通常都有远程的镜像仓库,除了官方的镜像仓库,还是各个云服务商的服务。下面介绍发布镜像的流水线步骤写法
- DOCKER_HUB_URL:字符串,Docker Registry 链接地址
- DOCKER_HUB_CRED:凭证,登录 Docker Registry 的账号密码
- DOCKER_IMAGE_NAME:字符串,镜像名
- ARTIFACT_VERSION:字符串,镜像版本
1 | pipeline { |
- docker操作详解:流水线语法 - 全局变量参考 - docker
注意:
- 如果 Jenkins 在是 Docker 容器运行的话,需要调用 Docker 进行镜像构建时需要调用宿主机的 docker 命令。可以通过
args '-v /var/run/docker.sock:/var/run/docker.sock -v /usr/bin/docker:/usr/bin/docker'来使用,网上很多教程是只有 docker.sock 这一个映射的,但是会出现很多奇奇怪怪的问题,所以推荐当前这种设置。- Jenkins 不是使用 root 来运行的,而 docker.sock 是 root 用户及用户组,其他用户只有个只读权限,无法执行。
1 | Got permission denied while trying to connect to the Docker daemon socket at unix:///var/run/docker.sock: Post "http://%2Fvar%2Frun%2Fdocker.sock/v1.24/images/create?fromImage=php&tag=latest": dial unix /var/run/docker.sock: connect: permission denied |
- Jenkins 无法操作 Docker,提示无权限
- https://www.digitalocean.com/community/questions/how-to-fix-docker-got-permission-denied-while-trying-to-connect-to-the-docker-daemon-socket
多环境的更新
- 微服务架构更新
FQA
coding.net 通过 sshput 更新目标服务器文件报 connection reset
ssh 使用的是阿里云的服务器,阿里云会对服务器进行一些安全防护,非常用登录地和阿里云服务器的推送会被当入侵安全问题。而当前使用的还是 root 账户。
需要给操作服务器添加白名单
- 阿里云:控制台右上角用户信息 - 安全管控 - IP 白名单 进行设置,10分钟后起效
- 阿里云:云安全中心 - 安全告警处理 会记录异常登录
git 证书拉取远程仓库报错 sign_and_send_pubkey: no mutual signature supported
1 | docker exec -it jenkinsci bash |
ssh 远程推送失败
之前看文章都是在 withCredentials 里设置配置,外面操作推送导致。去 Jenkins 论坛里找到了相关的处理方法,就是在 withCredentials 里直接使用 sshput 等命令操作,而不是在外面。示例代码:
1 | script { |
ssh 目录覆盖方法
目录覆盖需要把当前目录,更新到服务器的同名目录的上一层,如: ./blog 覆盖线上 /home/web/blog 目录,配置为 into: ‘/home/web’
小技巧:
如果编译出来的目录名不同,可以修复目录名来实现同名覆盖
注意:
- 使用
from: '.'sshput 文件夹的名称是当前的任务名,推送 hello 项目的 . 到 /var/www 中,会创建 /var/www/hello 目录。- 很明显,使用 . 更新服务器目录,无法更改目录名以实现目录覆盖
扩展
CI/CD 的具体运用
CI 持续集成主要用在开发调试环境,通过简单的流水线即可实现整个过程。CD 持续部署主要用在发布上线环境,通常是使用 k8s 等容器集群服务实现。